How to Add and Manage Digital IDs in Google Wallet: A Complete Guide to Passport and India Support
Overview
Google Wallet has steadily evolved from a simple payment app into a comprehensive digital identity platform. Initially supporting select US driver’s licenses and state IDs, the service recently expanded to include passports in several countries and now officially adds digital ID support in India. This guide walks you through everything you need to know — from prerequisites to step-by-step setup — so you can store and use your digital IDs securely on your Android device.
Prerequisites
Device and Software Requirements
- An Android phone running Android 8.0 or later
- Google Wallet app installed (update to the latest version from Google Play)
- Active internet connection for initial setup
- Google account signed in on the device
Supported ID Types and Regions
- US State IDs: Currently available in a growing number of states (e.g., Arizona, Maryland, Colorado). Check Google’s official list for your state.
- Passports: Supported in select countries including the US, UK, and now India. The passport must be an e-Passport (with a chip).
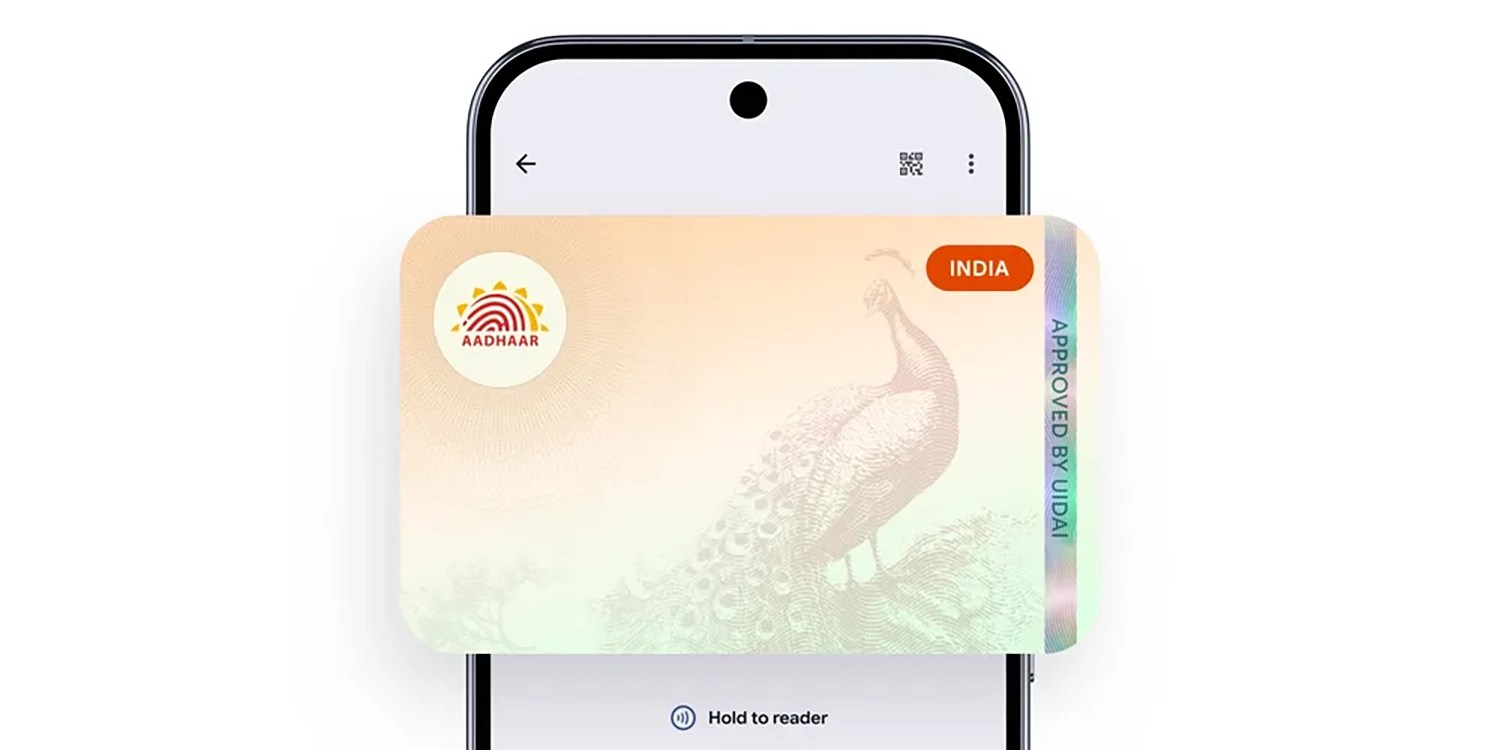
- India-specific IDs: Google Wallet now supports digital versions of the Indian passport. Additional IDs like Aadhaar may be added in future updates.
Document Preparation
- Have your physical ID ready for scanning (NFC chip or camera capture).
- Enable NFC on your phone if you plan to add a passport via chip scan.
- Ensure good lighting for camera-based ID capture.
Step-by-Step Instructions
Adding a Digital ID to Google Wallet
- Open Google Wallet on your Android device.
- Tap the “Add to Wallet” button (usually a plus sign or ‘+’ icon).
- Select “ID” from the list of card types.
- Choose the type of ID you want to add:
- US Driver’s License/State ID — if your state is supported
- Passport — for eligible countries including India
- Other — may appear for newer supported IDs
- Follow the on-screen prompts to scan your physical ID. For passports, you can either:
- Scan the data page using your camera (requires good lighting and clear image).
- Tap the NFC chip by placing the passport cover (where the chip is) against the back of your phone.
- After scanning, Google Wallet will verify your ID. This may take a few seconds to a minute.
- You may be asked to take a selfie for biometric verification (liveness check).
- Once verified, your digital ID will appear in the wallet. You can rename or organize it.
Using Your Digital ID
- At TSA checkpoints (US): Look for the “Digital ID Accepted” sign. Tap your phone to the reader.
- At border control (passport): Some eGates now support NFC-based passport reading from Google Wallet.
- In India: The new passport support enables faster verification at airports and select government offices where digital IDs are recognized.
Managing Multiple IDs
- Open Google Wallet and scroll to the ID section.
- Tap on any stored ID to view details or remove it.
- You can also set a default ID for quick access.
Common Mistakes and How to Avoid Them
NFC Not Working During Passport Scan
Problem: The phone doesn’t detect the passport chip.
Solution: Ensure NFC is enabled in your phone’s settings. Place the passport flat against the phone’s NFC antenna (usually near the camera or center back). Move the passport slowly until you feel a vibration or see a confirmation.

Camera Cannot Read ID Details
Problem: Blurry or glare on the document prevents scanning.
Solution: Use a plain, well-lit background. Hold the camera steady. If scanning a passport, avoid reflective covers. Try the NFC method if available.
“Unsupported ID” Error
Problem: Your ID type or region isn’t supported.
Solution: Check the official Google Wallet supported list. For US state IDs, only a few states are live. For passports, only countries with e-Passport + Google partnership are valid. For India, ensure you’re using an Indian passport.
Verification Takes Too Long
Problem: The selfie or ID verification hangs.
Solution: Ensure a stable internet connection. Restart the app. If using a VPN, disable it temporarily — location verification may be required.
Digital ID Not Accepted at a Physical Location
Problem: The reader rejects your digital ID.
Solution: Not all terminals accept digital IDs yet. Always carry your physical ID as backup. Check with the venue (airport, office) if they support Google Wallet IDs.
Summary
Google Wallet’s digital ID expansion is a significant step toward a truly paperless identity system. With support growing for US state IDs, passports in select countries (including the recent addition of India), you can now store your most important documents on your phone. The process is straightforward: ensure your device is compatible, follow the on-screen scanning instructions, and complete the liveness check. Watch out for common pitfalls like NFC misalignment or unsupported document types. As more regions and ID types join the ecosystem, your Google Wallet will become an even more indispensable travel and daily tool.
Related Articles
- How AI Agents Can Amplify Expert Decision-Making in Procurement
- What Went Wrong with Claude Code? Lessons in AI Evaluation
- How to Position Yourself for the 2026 Crypto Market: A Step-by-Step Guide Based on Recent Trends
- How the Clarity Act Moved Through the Senate Banking Committee: A Step-by-Step Guide
- EFF's Vision for a Fair Digital Europe: Key Questions and Answers on the Digital Fairness Act
- The Quiet AI Revolution in Finance: How Bottom-Up Adoption is Reshaping a Regulated Industry
- Limited Edition Millennium Falcon Desk Lamp Lands on Amazon Just in Time for Star Wars Day
- From NYSE Setback to All-in-One Wallet: How Exodus Aims to Make Self-Custody a Daily Reality